|
|
Post by Neon Rosell II on Sept 18, 2010 16:03:53 GMT
On a sortie in Dumaguete, it rained heavy for a while and then the sun suddenly appeared in full strength. I thought I got lucky that one of the target species that I went there for suddenly appeared and in full view. What I thought was my spectacles fogging as I peeked through the view finder was actually fogging on the front element due to the sudden change of the ambient temperature to a warmer degree. My lens wasn't able to adjust as quickly and it was still cold from the rainy episode that water droplet condensed in the front element of my lens fogging the view and causing a washed up appearance to the recorded photo. 5DM2 + 600 mm f4 IS + 2x Kenko TC, f4 (f8), 1/125 sec, ISO 640, Tripod-Gimbal support in available light.  I was playing around with what is the best way to save this photo and I tried every bit of trick I knew, levels, contrast, saturation, etc. and all didn't work to my liking. But then I remembered from a previous post on this board that duplicating the layer and making the blend mode to multiply will increase the contrast of the photo, which I did on this one. I'm still not satisfied with the save so I'll still play around to get it, hopefully, the way I want it. Any suggestions are welcome and I would gladly try it on this photo. ;D  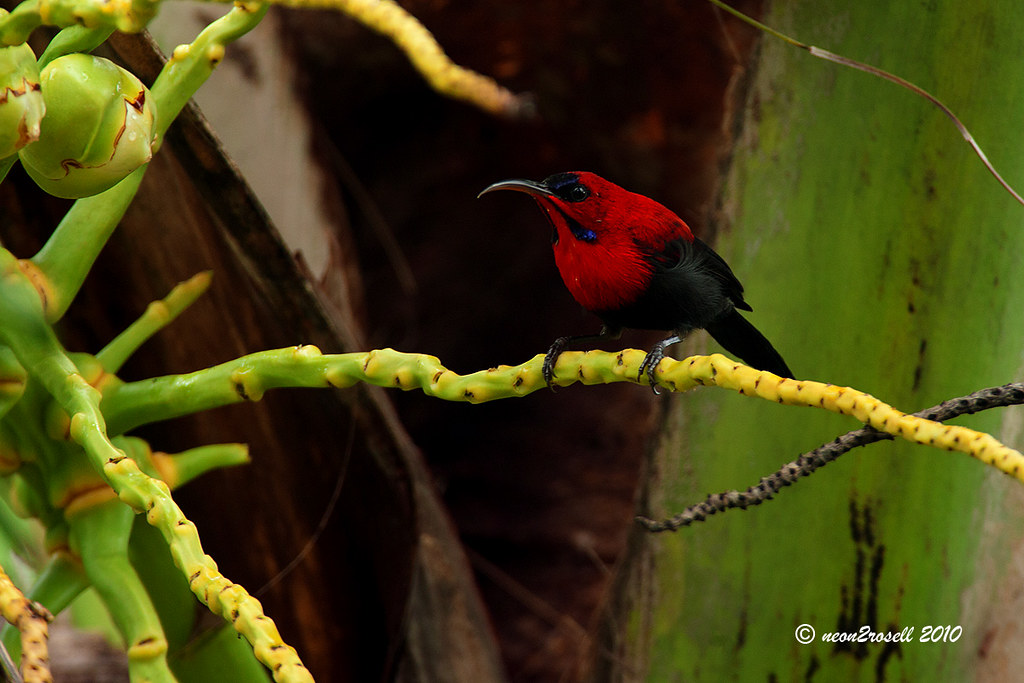 |
|
|
|
Post by Bobby Kintanar on Sept 19, 2010 0:52:33 GMT
I tried an auto function in Paintshop Pro Photo X2, which is my PP Program, called "Fade Correction"on this photo and came up with this. I also did some Shadow/Highlight adjustments on it and then color-balanced it:  I then added a Green Filter to tame the purplish tint a bit more and came up with this image: 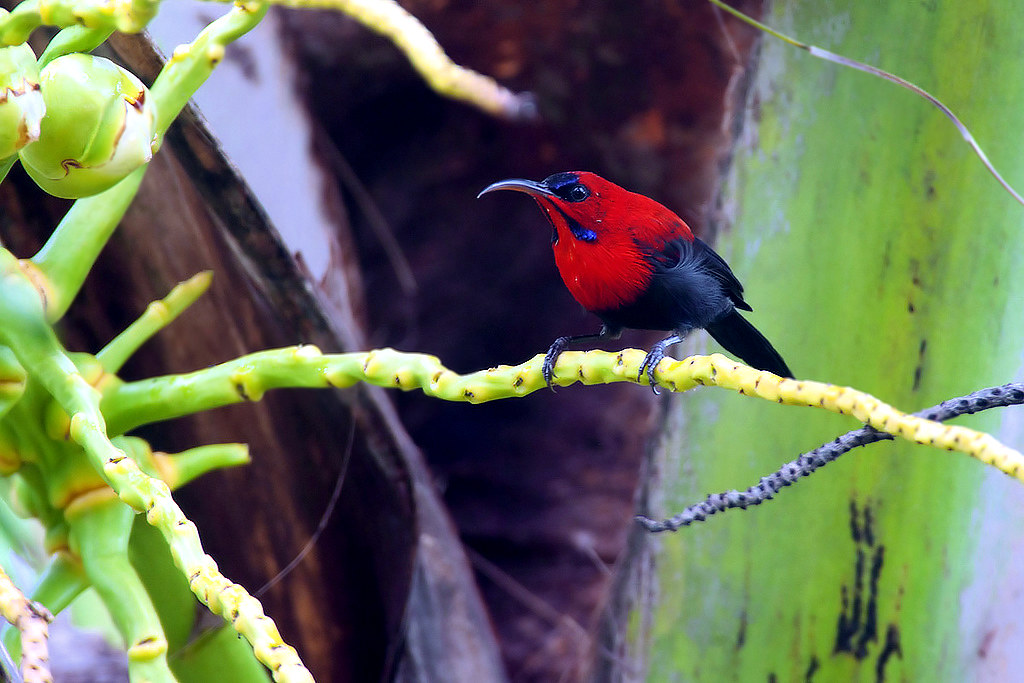 Not perfect, but getting there, I'd say. :-) |
|
|
|
Post by Toto Gamboa on Sept 19, 2010 4:24:15 GMT
Hi sir Neon, you may want to give everyone the RAW file so they can try their own skills with your shot. Then probably we can post the results and the techniques done to revive the photo.  by the way, what a nice way for you to have your target bird appear when your lens' front element is hazy due to fogging. It happens when you are 'lucky' |
|
|
|
Post by Romy Ocon on Sept 19, 2010 5:21:20 GMT
Here's a 5-minute PP job from the posted jpeg, partner. My color consultant is not with me, so the WB might not be spot-on. Processing from RAW would also be better. 1. I adjusted a levels of 55, 1.25, 255 2. Brightness/Contrast of 5/10 3. USM 5, 50, 0 to boost micro contrast 4. Vibrance of 25 5. Adjust WB by using levels mid-gray eyedropper 6. Levels 10, 1.06, 255 7. Brightness/Contrast of 5/10 Adjusted version:  Your original version: |
|
|
|
Post by mantarey on Sept 19, 2010 11:39:39 GMT
My first try.  Original Version: |
|
|
|
Post by Neon Rosell II on Sept 20, 2010 14:53:38 GMT
Thanks guys, I'll definitely try out these new tricks posted. Here is the link for the raw file for everyone to play around www.sendspace.com/file/6z7ynv |
|
|
|
Post by Neon Rosell II on Sept 20, 2010 16:41:09 GMT
Finally found a magic button in ACR and almost liked the outcome, I still used multiply as a blend mode without changing the opacity. Then USM a little bit. 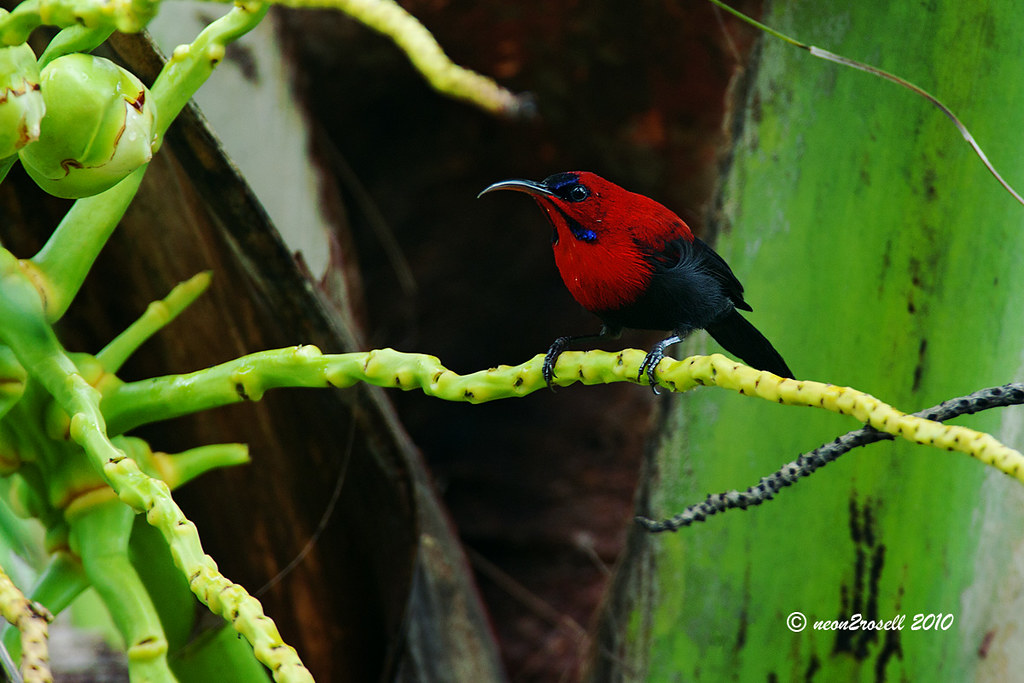 |
|
|
|
Post by Romy Ocon on Sept 20, 2010 23:10:07 GMT
The RAW file is easier to work from. ;D Attached is the CS5 recipe I used. The key is to increase the blacks during conversion to mitigate the fogged effect. The post processed crop below didn't deviate much from the converted file, just minor adjustments in levels/contrast plus some USM.  |
|
|
|
Post by mantarey on Sept 21, 2010 1:17:36 GMT
Wow looks perfect to me, outstanding technique Mastah Romy. |
|
|
|
Post by Toto Gamboa on Sept 22, 2010 15:19:51 GMT
Hi Neon, here is my version.  Went out of my usual workflow as the shot is too difficult a subject for my usual workflow. I processed it using ACR. Sharpening is just about the middle of the slider. Then open it up in PS and did some Smart Sharpening, Levels and Highlights. |
|


 by the way, what a nice way for you to have your target bird appear when your lens' front element is hazy due to fogging. It happens when you are 'lucky'


